Tuesday, March 27, 2012

TOMATO GROWING SECRETS

Epsom salt is a longtime, affordable way to help start your garden or improve your garden once it’s already going. You can use Epsom salt in the garden as a fertilizer, a pest deterrent, and also as a seed starter, to name a few. Epsom salt can also enhance the quality and condition of your lawn and shrubs by adding  its content magnesium !
 Another great tip is is egg shells. Wash the egg shells out, crush them, not to a powder but almost, sprinkle them on a baking sheet and bake them till they are a light brown. Then sprinkle them around your tomatoes/veggies. Both the bone meal and egg shells are a source of calcium which is good for fruiting.You could also dissolve Tums tablets for added alcium. 


  • Dig a hole that is two-and-a-half times deeper than the root ball of the tomato plant and twice as wide as the root ball. This will give the plant plenty of room to spread and encourage the roots to grow in an outward direction.
    Drop 1 cup epsom salt and 1 cup of granulated sugar along with a few eggshells into the hole, as they contain phosphorous that helps tomatoes grow and flower. Sugar granules break up and help offset the acidity of the fruit; they become absorbed into the tomato plant through its root system. Epsom salt provides beneficial nutrients for the plant. Magnesium and sulfur act together to fertilize a tomato plant.

  • Use the point of the shovel to blend together .

  • Place a tomato plant in the bottom of the hole so that the stem points upwards. 

    Pull the loose soil back into the hole with a hoe. Vegetable gardeners call this "back-filling" the hole. Wear your gardening gloves and tamp the dirt down around the tomato plant with the palms of your hands. 
    Use a watering can to water your freshly planted tomato plant. Gardeners call this "watering in" a tomato plant. Use at least one watering can of water per plant.


    Plant Marigolds With Your Tomato Plants To Keep Away All Garden Pests. 


                        HAPPY GROWING!!!


    Join me on Facebook for more tips and decorating ideas!http://www.facebook.com/SuziHomefaker?ref=tn_tnmn


    Sunday, March 25, 2012

    HEARTY HAM AND POTATO SOUP


    Ingredients

    • 3 1/2 cups peeled and diced red or Yukon potatoes
    • 1/3 cup diced celery
    • 1/3 cup finely chopped onion
    • 3/4 cup diced cooked ham
    • 1/2 cup canned corn or mushrooms(optional)
    • 1/2 cup shredded fresh Parmesan
    • 1 small pinch  fresh ground nutmeg
    • 3 1/4 cups water
    • 2 tablespoons chicken bouillon granules
    • 1/2 teaspoon salt, or to taste
    • 1 teaspoon ground white or black pepper, or to taste
    • 5 tablespoons butter
    • 5 tablespoons all-purpose flour
    • 2 cups milk
    • sour cream and shredded  cheddar cheese for serving

    Directions

    1. Combine the potatoes, celery, onion, ham and water in a stockpot. Bring to a boil, then cook over medium heat until potatoes are tender, about 10 to 15 minutes. Stir in the chicken bouillon,nutmeg, salt and pepper.
    2. In a separate saucepan, melt butter over medium-low heat. Whisk in flour with a fork, and cook, stirring constantly until thick, about 1 minute. Slowly stir in milk and Parmesan cheese as not to allow lumps to form until all of the milk has been added. Continue stirring over medium-low heat until thick, 4 to 5 minutes.
    3. Stir the milk mixture into the stockpot, add corn or mushrooms and cook soup until heated through. Serve immediately with a dollop of sour cream and shredded cheddar  cheese on top of each serving.ENJOY!!


    Saturday, March 24, 2012

    HONEY LEMONADE


    There's something about a Mason jar that conjures up warm, nostalgic feelings, whether it's holding bright berry jam, crisp dill pickles or  some delicious fresh HONEY lemonade. 


    HONEY LEMONADE

    INGREDIENTS

    • 1/3 to 1/2 cup honey
    • 1 1/2 cups steaming hot water
    • 1 cup fresh lemon juice
    • Ice cubes for serving
    • PREPARATION

      1. In a large kettle, combine the honey and hot water and stir until the honey is dissolved. Stir in the lemon juice. Let cool for at least 10 minutes or cover and refrigerate until ready to serve. Pour into mason jars with a lemon wedge..
      2. Serves 2 to 4.
                                                   ENJOY!!

    Wednesday, March 21, 2012

    OUTDOOR CUSHION REDO

    I'm so happy I could jump for joy! I found beautiful fabric at Hobby Lobby. It was originally 23.99 a yard ,and marked down to 7.00 a yard ...YIPPEEEEE!!!!


    It's the great upholstery kind, nice and thick, and wide. I only had to fold it in half and run a seam up one side and top and bottom.They cut it in 2 perfect length pieces right at the store, so no cutting for me...YIPPPEEEE!!again!


    This is what my cushions looked like before..they are in good shape but badly faded.The chair itself is pretty sad too, so I'll just be spray bombing those right away.I found Krylon on clearance at Walmart for 2.00 a can !!


    Took me all of 5 minutes to whip these out, and stuff the old cushions in them...Look at them now...I just need to Scotchguard them, and were ready for some Lemonade!!!LOL


               THANKS FOR STOPPING BY!!
    http://www.facebook.com/SuziHomefaker?ref=tn_tnmn


    Tuesday, March 20, 2012

    No Bake Banana Split Torte

    No-Bake Strawberry Split Torte
    serves 8
    2 pounds fresh strawberries, washed and sliced
    2-3 bananas sliced 
    1 can crushed pineapple drained reserve juice for pudding

    3 1/4 cups cool whip

    1 package prepared vanilla pudding using pineapple juice from crushed pineapple instead of milk

    1 pkg, softened cream cheese

    4 sleeves (about 19 ounces, or 24 to 28 whole crackers) graham crackers

    Hershey's syrup
    Take out a few of the best-looking strawberries and set them aside for the garnish. Hull the remainder of the strawberries and slice each berry into thin slices.Slice peeled bananas.
    With a hand mixer or in the bowl of a stand mixer, whip prepared pudding and cream cheese. Fold in Cool whip.
    Spread a small spoonful of cool whip mixture on the bottom of a 9x13 inch baking pan, or a similarly-sized platter.Spread some crushed pineapple and strawberries and bananas. Lay down six graham crackers. Lightly cover the top of the graham crackers with more cool whip mixture, and then a single layer of strawberries and bananas. Repeat three times, until you have four layers of graham crackers. Spread the last of the cool whip mixture over the top and swirl it lightly with a spoon. Add a few more strawberries and drizzle with Hershey's syrup and sprinkle with chopped nuts if desired..

    Refrigerate for at least four hours, or until the crackers have softened completely. 

    Monday, March 12, 2012

    HARLEY DAVIDSON CAKE


    Frosted in Italian Butterceam

    Sprayed all black


    added tread with a putty knife


    Rolled fondant flames

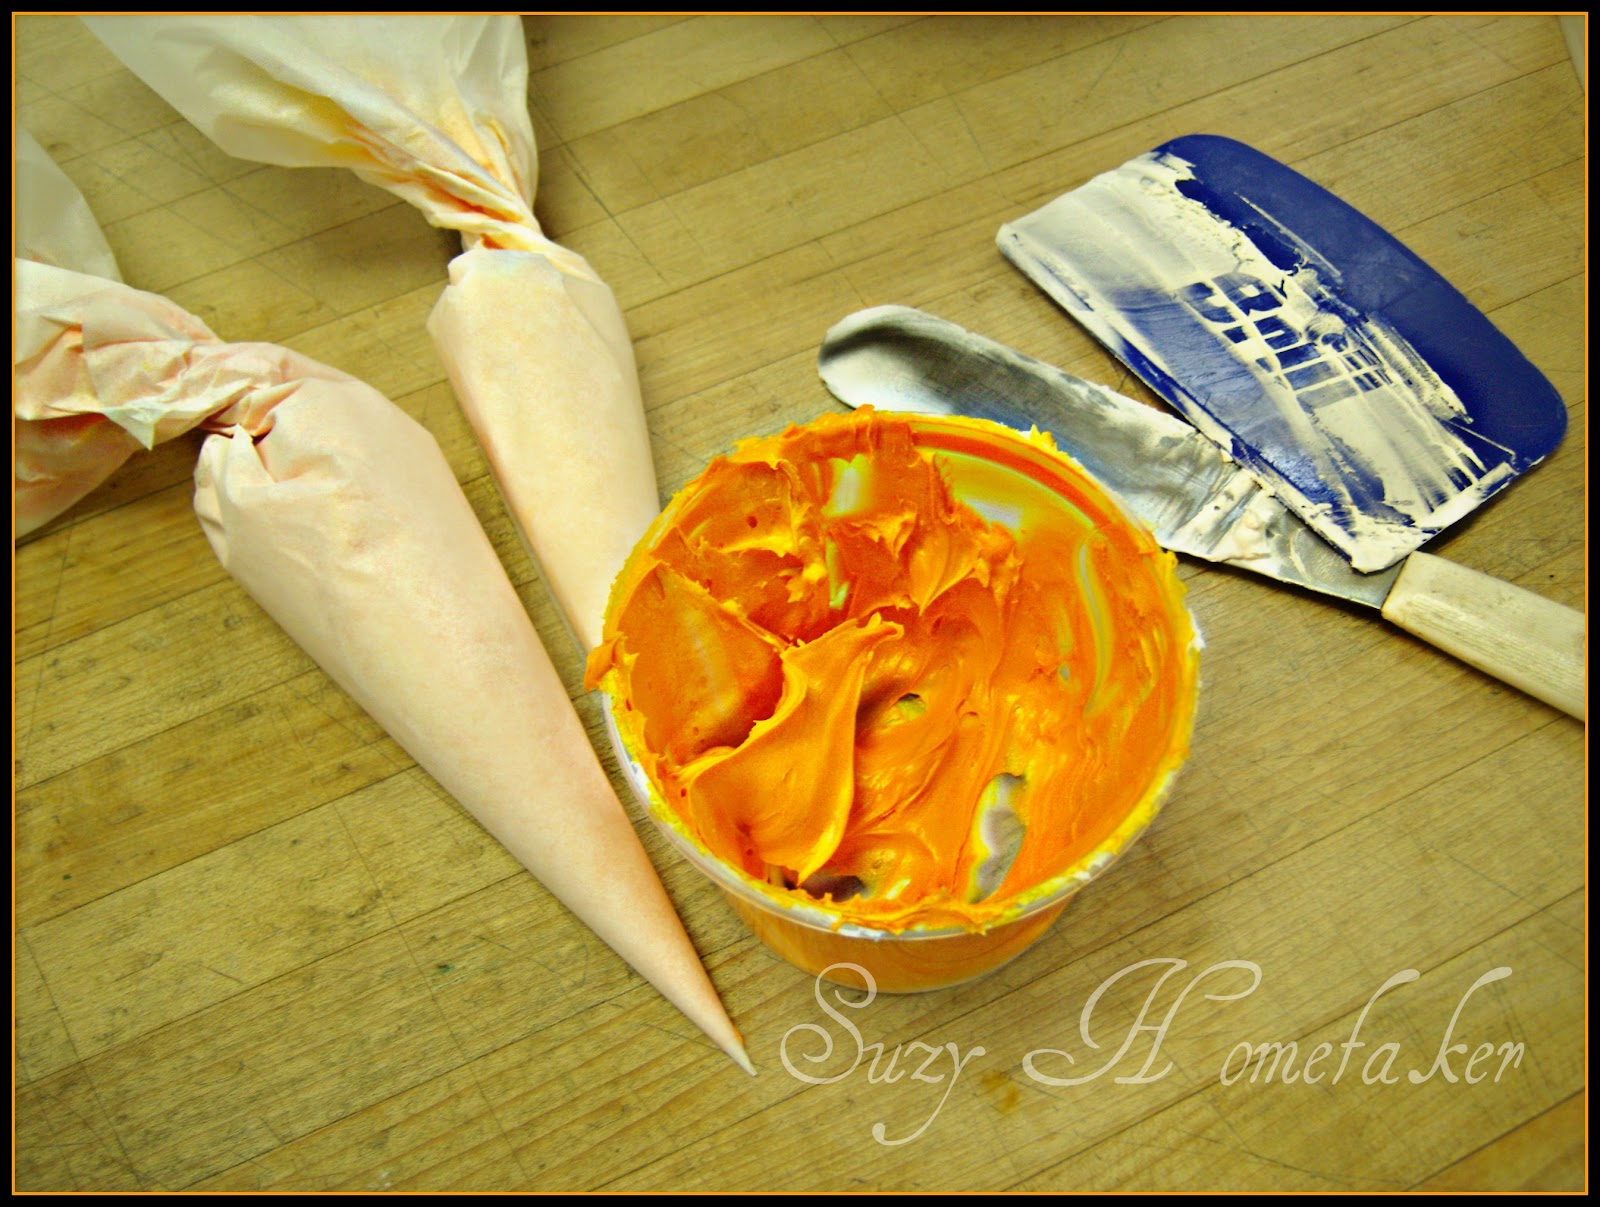
    Trimmed edges of flames with orange buttercream in parchment, yes I'm old school rolling my own bags!


                         Hope He Likes it!!!
                                   Thanks for stopping by!!


    http://www.facebook.com/SuziHomefaker?ref=tn_tnmn

    Saturday, March 3, 2012

    CANNING RAW PACK HAMBURGER


    O.k I'm a canning fool today. Now I'm onto hamburger.Canning meat raw pack is sooo easy! I packed the jars full of raw hamburger .There is no need to add liquid to these jars so I just put the lid on.


    Next I placed them in my pressure cooker. I can fit 7 quart jars in my canner. 
    When canning hamburger it needs to cook at 11 pounds of pressure for 90 minutes. If you are doing pints then it's 11lbs for 75 minutes. 
    After the 90 minutes are up you turn off the heat, however, it does take a while for the pressure in your canner to subside. You just have to wait. Once the pressure is gone, you can remove the lid and carefully remove your jars. They should sit on your counter for 24 hours to cool. I've heard of people adding a tsp. of beef broth to each jar, but maybe next time.


    And, you can can burgers--form raw patties 1/2 inch thick-exactly the same size as the top of your jar. Stack them up and do not add any additional liquid. After canning for 90 minutes they only need to be warmed up to make a burger.


    Making meatloaf in jars. Use the 1 1/2 qt straight sided jelly jars.
    just mix up your meatloaf mix the way you normally would (but without eggs) cram it in the jar and process. 


    Meatballs, the same way...


                                    Thanks for stopping by!


    http://www.facebook.com/pages/Suzi-Homefaker/157277567665756?ref=tn_tnmn

    CANNED CHEESE

    I have been busy getting all my canned food in order. Last fall all the garden veggies, and apples are being enjoyed now, but lately I wanted to think more out of the box and maybe try meats and cheeses.Here is a great recipe for canned cheese that is similar to Cheez Whiz, but way better! It works great for grilled cheese,and macaroni and cheese.They say it will last for 2 years, but I don't think it stay on the shelf that long!


    Ingredients:
    • 1 (5 oz.) can evaporated milk
    • 1 T. vinegar
    • ½ tsp. salt 1 lb. Velveeta cheese or any processed cheese
    • ½ tsp. dry mustard

    Melt milk and cheese in double boiler. Add rest of ingredients and mix well. Fill pint jars about 3/4 full and seal. Place in Boiling Water bath for 10 minutes.


    http://www.facebook.com/pages/Suzi-Homefaker/157277567665756?ref=tn_tnmn