Sunday, March 18, 2018

STUFFED PORTABELLA WITH CRAB


Crab-Stuffed Portabella

1 cup crabmeat
1/2 cup cream cheese
1/4 cup fresh parsley leaves, chopped
1/4 cup green onions, chopped
4 tablespoons Parmesan
Seasoning salt
2 portabella mushroom caps
1/2 cup bread crumbs
Nonstick cooking spray


Directions
Preheat the oven to 375 degrees F.
Combine the crabmeat, cream cheese,
parsley, green onions and Parmesan.
Season salt, to taste.
Stuff the mushroom caps with the mixture
and top with bread crumbs. Spray the tops
with nonstick spray, or a dab of butter to help them brown.
Transfer to the oven and bake for about 20
minutes, or until the filling is hot and melted.


BEAUTIFUL NATURAL DYED EASTER EGGS LATVIAN


This is how my grandma made eggs every year...love them!

You'll need:

  • onion peels (you can combine red and yellow, about 10-15 onions, depending on how many eggs you are going to do);
  • white eggs,
  • a little salt 
  • 1 tablespoon of vinegar 
  • old pantyhose, scissors and thread,
  • plants of your choice (make sure none are  poisonous).

Approach

  1. Cut your pantyhose (of such size as to wrap the egg + knot).
  2. Place your plants/flowers/leaves that you want printed on the egg.
  3. Fill a pot with  eggs and peelings and pour water to the highest level.
  4. Simmer on medium heat 12 to 15 minutes. Look after them after 12 minutes, if it is color nice , great. If not, you can add a tea bag or ground coffee,
  5. Place the eggs in a collander and let cold water run over them a few minutes... then carefully remove the pantyhose and plants {I use a large needle for this}.
  6. You're done! Beautiful Latvian Easter Eggs..


Friday, March 9, 2018

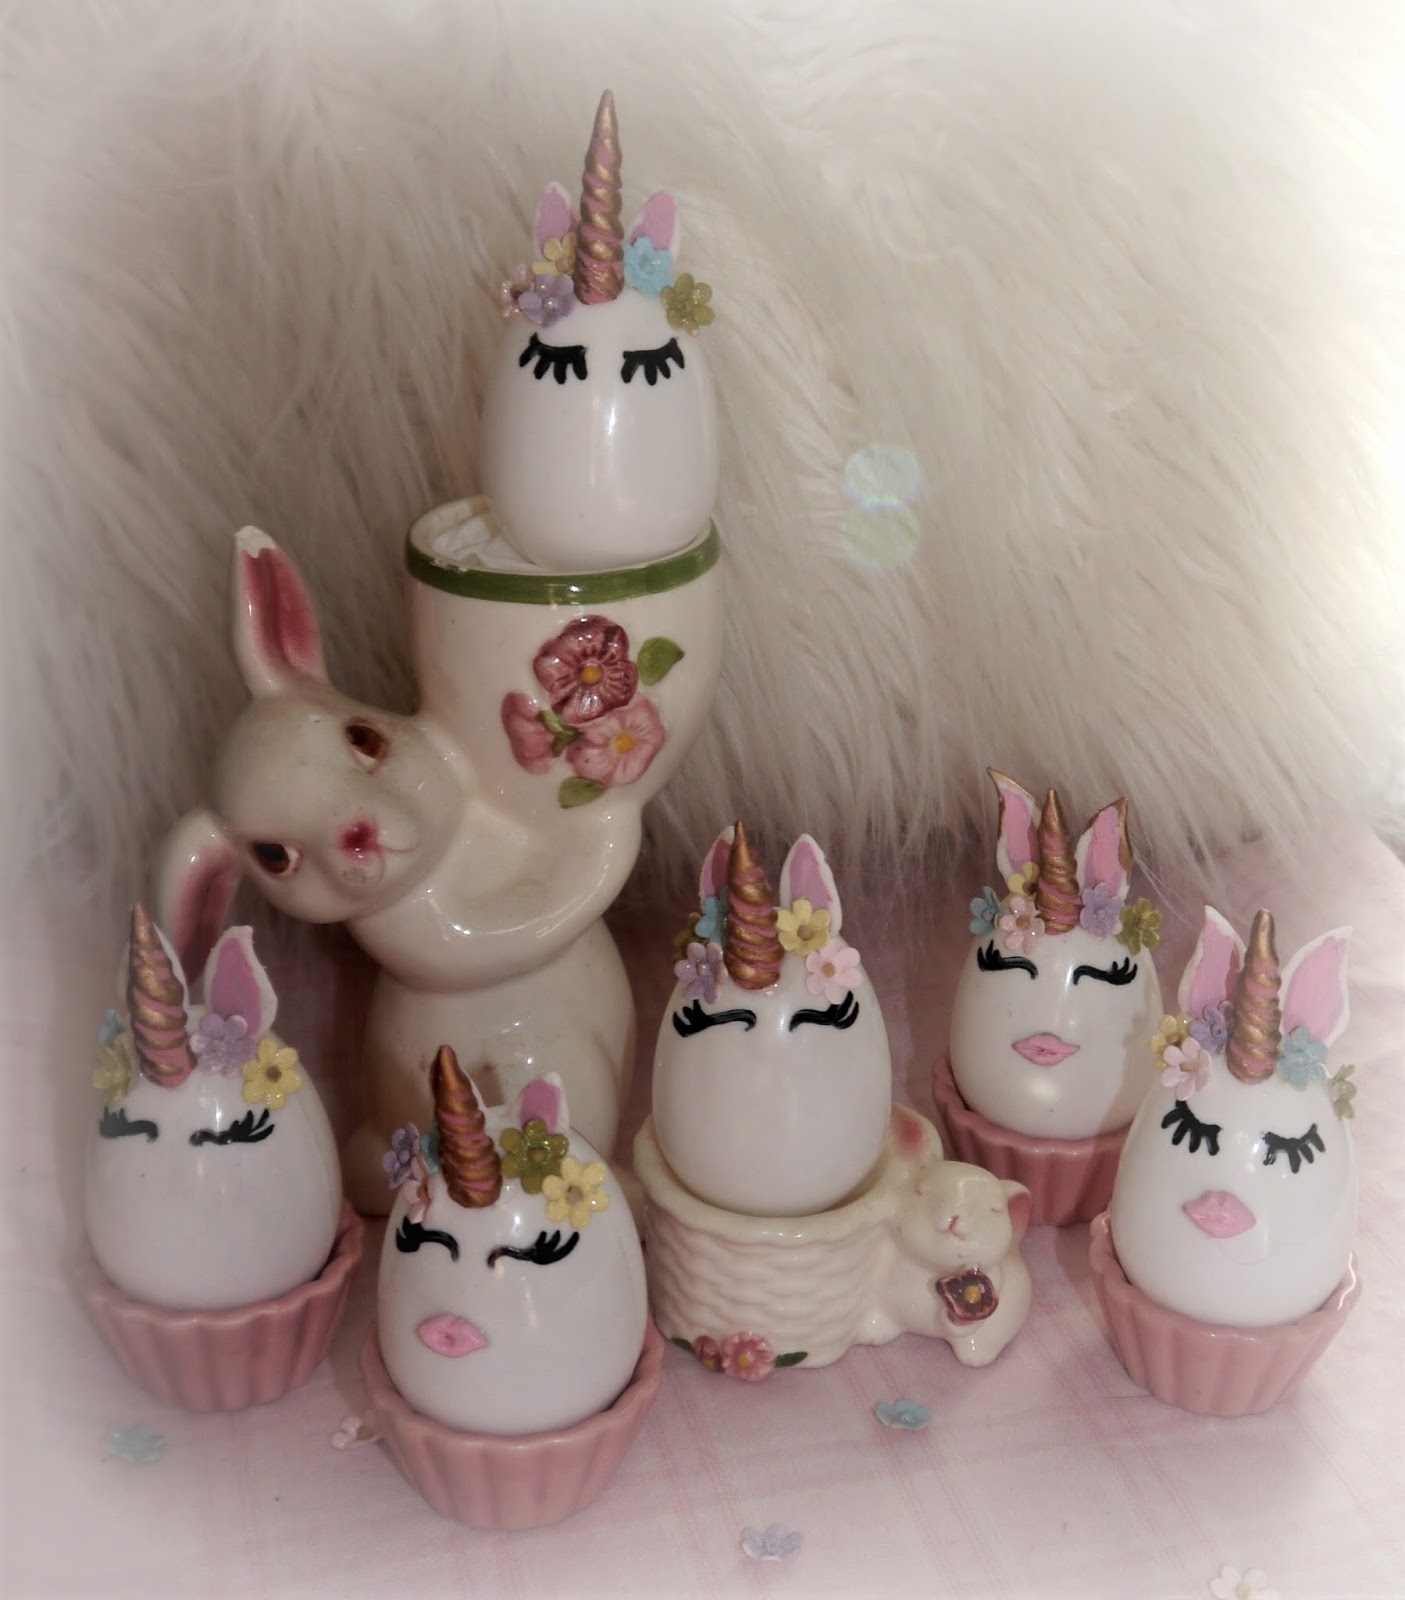
Unicorn Easter Eggs


                                                 You tube video here...


Wednesday, March 7, 2018

BLT Naan Cream cheese pizza.

Cream cheese on pizza??


OH MY GOODNESS, yes I’m serious. 


You must try!!

These pizzas are the bomb!!!

If you haven't tried cream cheese on your pizza, you really must!!

These would be great for a pizza build your own party...I love these because my husband and I do not like the same ingredients on our pizza.


Ingredients

  • 4 pieces  naan bread
  • 1/4 cup pizza sauce
  • 7 slices cooked bacon, crumbled
  • 1 medium tomato diced
  • 1 cup (packed) grated mozzarella cheese
  • 1/4 cup shredded cheddar cheese
  • 2 tbsp grated Parmesan cheese
  • 1/2 cup mushrooms sliced
  • 1/4 tsp of each...basil and oregano
  • 2 tablespoons diced chilis(optional)
  • 1/4 cup fesh baby spinach(optional)
  • 2 tablespoons diced garlic
  • 2 tablespoons butter
  • 1 small onion diced
  • 1/2 green pepper diced

Directions

  1. Preheat the oven to 350 degrees 
  2. Add butter to a saucepan, sautee onion and garlic on med low heat until soft.Add cream cheese and turn on low until melted... 
  3. Lay 4 pieces of naan on a  baking sheet 
  4. Spread  cream cheese mixture then 2 tablespoons of pizza sauce on each piece of naan.
  5. Divide the bacon, tomato, mushrooms, chilis, spinach, basil, oregano,and cheeses evenly between the 4 pieces of naan.
  6. Bake until the cheese is melted and the naan bread is golden brown, 7 to 8 minutes.
  7. Transfer the pizzas to a cutting board and let rest for 5 minutes before slicing.
  8. Slice the pizzas into quarters. Serve.

Saturday, March 3, 2018

INSTAPOT/ CROCKPOT HOMEMADE MAPLE SYRUP DIY

My glam kids are having a lesson on where food ...natural food that is comes from...I remember my grandma teaching me where syrup comes from, and how it is made, along with making butter from heavy cream in a mason jar...I was sooo excited to shake that jar every time I went to visit...hmmmm let's see would you rather have...

Fake Syrup
 Ingredients: corn syrup, high fructose corn syrup, water, contains less than 2% salt, cellulose gum, natural and artificial flavors, caramel color, sodium benzoate, potassium sorbate, citric acid. 

OR

Pure maple syrup is made out of Maple sap. That’s it! 

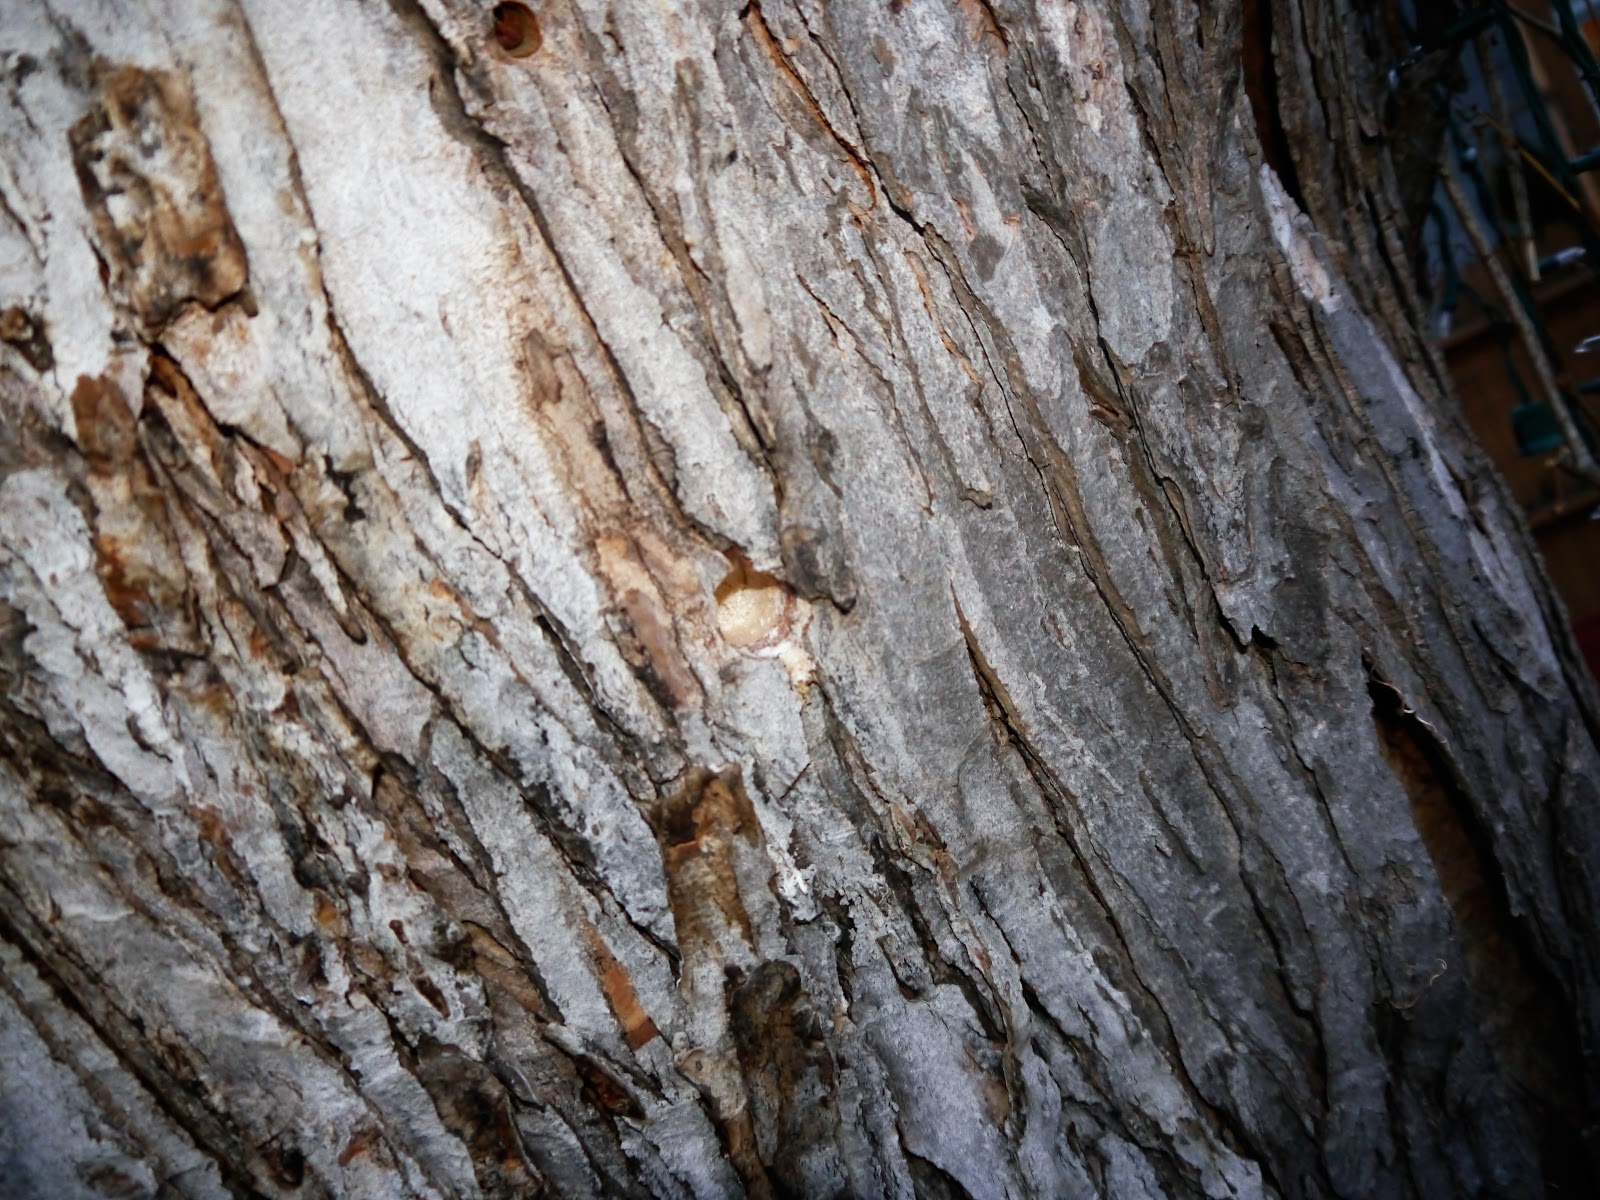
This is my tutorial on how to do small batches of maple syrup. I have a very large tree....just one...but I can tap it 4 times , which yields enough syrup for my husband and I...

Home made maple syrup provides calcium, riboflavin niacin, and zinc .Maple syrup is made by boiling and straining the sap from maple trees, most often the sugar maple, however my tree is a Silver maple, and tastes just as wonderful. 

As a general rule...the best time to tap your trees are when you have warmer day-time temperatures{around 40 degrees} but still cooler nights {near freezing}, you’ll start to get good sap flow. Here in Wisconsin that tends to be around late February early March through about April.


 The conversion from sap to syrup is somewhere around 40 to 1, more or less depending on the concentration of the sap. So one gallon of sap would  yield somewhere around a third of a cup or so of actual syrup.


My idea for doing small batches at home is to use a crockpot. Boiling sap requires some serious attention to prevent scorching.A crock-pot  eliminates that concern completely. 


Step 1: Drill a hole about 2 inches deep that is slightly smaller in diameter than your tap. You’ll want to drill at a slight upward angle and on the south facing side of the tree.I marked on my drill bit 2 1/2 inches, so I was sure not to drill too deep. Clean any sawdust out with your finger.


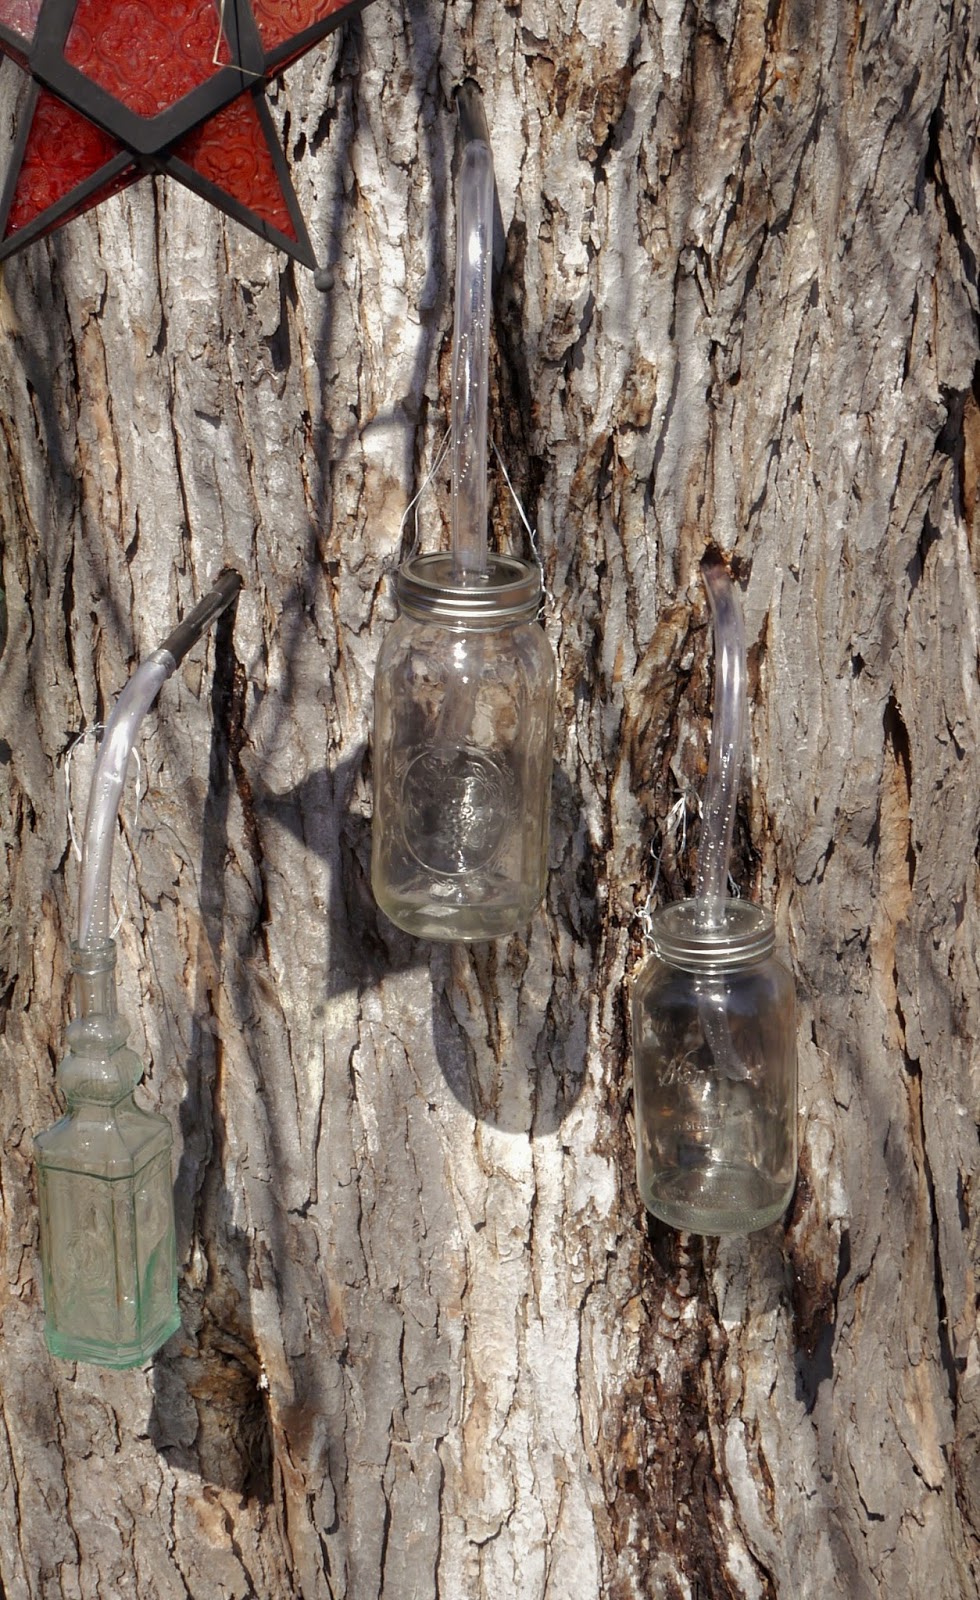
Step 2: Hammer in your taps or “spiles”.I used these 3/8 by 6 inch nipple thingys as they were all out of spiles at Fleet Farm...I connected regular 5/8 inch pvc tubing to that ...easy peasy, and way cheaper also..


Step 3: Attach container to your tap. If you’re using a hose/tap combination like I use, then just run the tubing into the container (I drilled a hole in the  mason jar ie. container’s lid to easily feed the tube through). I then hung the wired jar to the tree via a long screw..I also used regular bottle for a couple taps also...use whatever you have handy, as long as they are clean and sterile.I run everything thru my dishwasher prior to tapping.


Step 4: Start to boil your sap down. My crock will simmer on high .  I Fill it, turn it on high  with the lid slanted but you can do it without the lid, BUT you may get sap on your counter via the steam, so put some paper towel down . Every so often add more sap  as I collect it from my tree. It  takes a while but its not like you have to watch it 24/7.
             ******************************************
INSTAPOT RECIPE...
                                                    You will need:
  • 1 gallon  fresh tree sap
  • 6 quart Instant Pot
  • 10-12 hours of time
  1. Turn your Insta Pot on Saute'.
  2. Strain the sap and pour it in the Instant Pot, leave it on saute for the whole 30 minute cycle.
  3. Once the 30 minute cycle is up it should be almost boiling, immediately switch the Instant Pot to slow cook-high heat (labled MORE) and set the time for 10 hours
  4.  Let it do it’s thing,
  5. When it hits the 2 cup mark on the Instant Pot inner pot ..keep an eye on it
  6. It’s done when it’s a lovely golden  color and you dip a spoon in the syrup, it holds a drip at the end.
  7. let it cool

Processing your Syrup for Storage
Filter syrup into a canning jar.
I like using a t-shirt or cheesecloth. Muslin or any other filtering material is fine. Once you place the lid on the canning jar it will self seal as it cools off...

Store away and enjoy! 

Note:
Fresh sap can spoil within a day or two (becomes cloudy, sour). Store syrup in an airtight container and place in a cool place. This syrup can become moldy. To store for extended periods, the syrup should be sterilized. 


Kiddos Maple Syrup Candy

MAPLE SYRUP CANDY IS EASY TO MAKE IN JUST A FEW STEPS!

 Boil real maple syrup until it reaches 250 degrees, right below the hard ball stage on the candy thermometer. Heating the maple syrup under 250 degrees will make softer candy. Heating it over 250 degrees will make hard candy. Drizzle over crushed ice or snow...the syrup will instantly harden...ENJOY!!


Sunday, February 25, 2018

FLUFFY CLOUD CHEESECAKE


Ingredients

*Please note substitutions for low carb are in parenthesis 
  • ⅔ cup milk
  • 4 oz cream cheese
  • 7 tablespoons butter
  • 8 eggs, yolk
  • ¼ cup flour{almond flour}
  • ¼ cup cornstarch{arrowroot} 
  • 13 large egg whites
  • ⅔ cup granulated sugar{stevia}
  • parchment paper


  1. Preheat oven to 320°F .
  2. In a small pot over medium heat, whisk the milk, cream cheese, and butter until smooth. Remove from heat and cool.
  3. In a large bowl, whisk the egg yolks until smooth, then slowly drizzle in the cream mixture, stirring until evenly combined.
  4. Sift in the flour and the cornstarch, whisking to make sure there are no lumps.
  5. In another large bowl, beat the egg whites with a hand mixer until you see soft peaks when lifting the mixer up from the egg whites. Gradually add the sugar while continuing to beat until you see hard peaks when lifting the mixer up.
  6. Take about ¼ of the egg whites and fold them into the egg yolk mixture, then repeat with the remaining egg whites until the batter is evenly combined.
  7. Place a 4-inch (10-cm) parchment paper strip around the edge of a 9x3-inch (23 cm) cake pan that is already lined with parchment at the bottom. If you are using a springform pan, make sure to wrap the bottom and sides completely in foil, twice, to prevent any leakage.
  8. Pour the batter into the parchment-lined pan and shake to release any large air bubbles.
  9. Place the filled pan into a larger baking pan or dish lined with 2 paper towels at the bottom. The paper towels ensure that the heat is distributed evenly along the bottom of the pan. Fill the larger pan about 1-inch (2-cm) with hot water.
  10. Bake for 25 minutes, then reduce the heat to 280°F , and bake for another 55 minutes, until the cake has risen to almost double its height.
  11. Remove from oven, and carefully, invert the cake onto your dominant hand and peel off the paper. Be extremely careful, the cake will be hot. You can also invert the cake onto a plate, but this will cause the cake to deflate more.
  12. Sprinkle the top of the cake with powdered sugar, slice, and          serve with strawberries while still warm!
  13. Enjoy!
Cheesecakes can stay in room temperature for up to 12 hours. We recommend putting them in the fridge (not freezer) as soon as possible, and they can last in the fridge for up to 3 days..

Saturday, February 24, 2018

Annie Sloan Chalk Paint Colormatch

If your anything like me...I just cannot pay 25 dollars a quart for paint... unless it is glitter...lol


I have put together a colormatch alternative below ..

Please note you can get any brand of paint and have them use these paint brand/numbers to colormatch it..flat paint will be your best option for a true match..


ASCP’s Coco matched with Behr’s Ethiopia { UL160-20 }..
I will be doing a dining room wall in it, and will post pictures..

  • ASCP Antibes Green
    • Behr Parakeet MQ4-47d

  • ASCP Antoinette
    • Behr Rosewater S170-2u

  • ASCP Aries
    • Glidden Wood Thrush Gold 10YY 45/419

  • ASCP Aubusson Blue
    • Behr Tornado Season S450-6d

  • ASCP Barcelona Orange
    • Ralph Lauren Varsity Orange RL4087
    • Behr Tiki Torch M180-6d

  • ASCP Burgundy
    • Behr Deep Claret BIC-50

  • ASCP Chateau Grey
    • Behr Grassy Savannah N340-5m

  • ASCP CoCo
    • Behr Ethiopia PPU5-6d

  • ASCP Country Grey
    • Behr Rye Bread PPU8-10m

  • ASCP Cream
    • Behr Hummus PPu6-11u

  • ASCP Duck Egg Blue
    • Behr Misty Moss N420-3m

  • ASCP Emile
    • Behr Gothic Purple N110-4d

  • ASCP Emperor’s Silk
    • Behr Red Red Red BIC-49

  • ASCP English Yellow
    • Behr Sulphur Yellow P320-7d

  • ASCP Florence
    • Glidden Niagara Reef Jade 70GG 25/242

  • ASCP French Linen
    • Behr Gray Squirrel N320-5m

  • ASCP Graphite
    • Behr Astronomical N450-7d

  • ASCP Greek Blue
    • Behr Empire Blue MQ5-56m

  • ASCP Henrietta
    • Behr Highland Thistle S110-4u

  • ASCP Louis Blue
    • Behr Opal Waters MQ5-50u

  • ASCP Napoleonic Blue
    • Glidden Federal Blue 50BB 10/147
    • Behr Velvet Rope MQ5-58

  • ASCP Old Ochre
    • Behr Dainty Lace MQ3-11u

  • ASCP Old Violet
    • Glidden Mountain Slate Blue 10bb 18/106
    • Behr Hypnotic MQ5-19

  • ASCP Old White
    • Behr Writing Paper S310-1u

  • ASCP Olive
    • Behr Kilimanjaro N340-7d

  • ASCP Paloma
    • Behr Metropolis N140-3m

  • ASCP Paris Grey
    • Behr Classic Silver PPU18-11u

  • ASCP Primer Red
    • Ralph Lauren Townhouse RL4062

  • ASCP Provence
    • Glidden Blue Green Sea 90GG35/153

  • ASCP Pure White
    • Behr Ultra Pure White PPU18-6

  • ASCP Scandinavian Pink
    • Behr Red Coral PPU1-5Ad

  • ASCP Versailles
    • Behr Mojito PPU8-11

Pink Santa Mugs Shabby Chic Christmas


I found these in my mom's things after she passed...I love the size of these cups, and was unable to find any pink Santa mugs for sale..

The paint was chipping off, but there were no chips in the porcelain..

So with some patio paint, sculpey clay, and a 2 step epoxy seal coating , these will be lovely in my dining room next Christmas...I will have to hand wash them, but they are adorable...now I can pack them safely away ...


Before

Poor Santa was missing an eye....

Sculpey clay baked roses 
After...don't they look happy???